Most important aspects of the integration
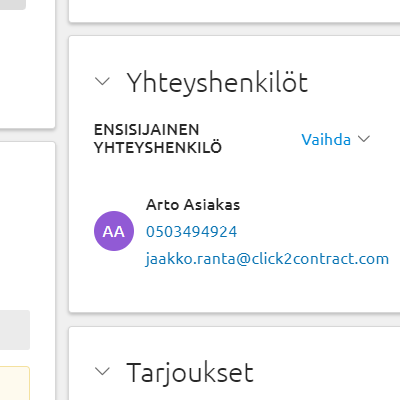
Customer and contact information from Severa
Customer and contact information that have already been saved in Visma Severa can be automatically imported to the proposal or contract. This way you don’t have to input the same data multiple times, and Severa will have the most up-to-date data.
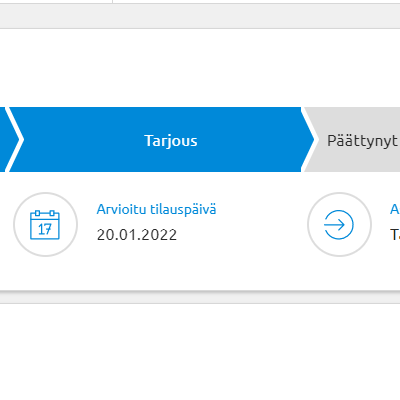
Follow-up from the same place
The status and progress of a proposal or contract can be found in the Sales overview page in Severa. The salesperson will also receive an email notification when the document is opened for the first time. From the same place, the document editor is only one click away so that the sales cycle will not be unnecessarily lengthened.
Tips for getting started
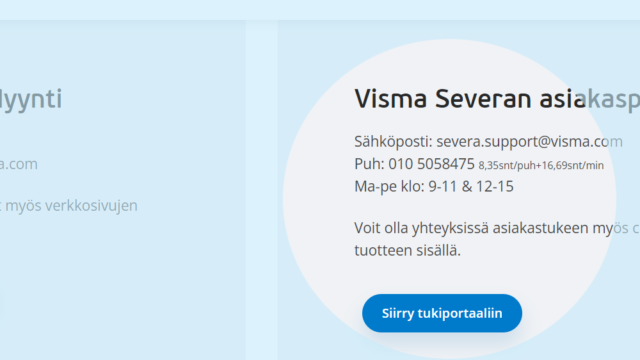
REST API integration in Severa
Start the integration by enabling Severa REST API. You can do this by sending a request to Visma Severa support: severa.support@visma.com
Ask them to enable Visma Severa REST API for you. They will send a terms of service agreement for you to sign and enable the REST API.
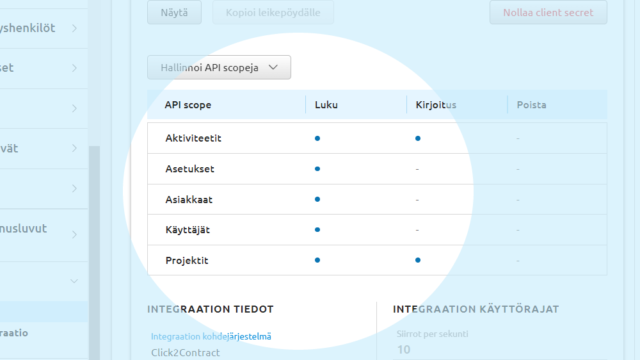
Select API scopes
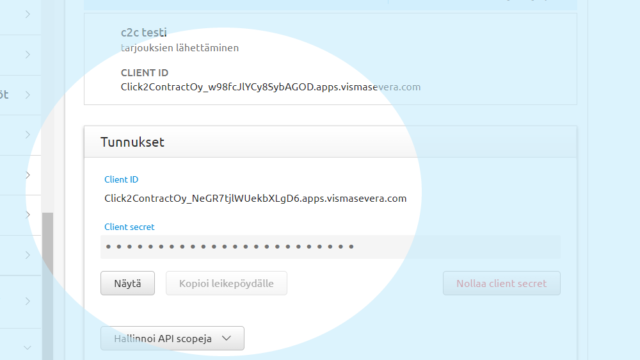
Once REST API is enabled, you can select API scopes. Select the following permissions: Activities and Projects: read and write. Settings, Customers and Users: read.
Finalize in Click2Contract
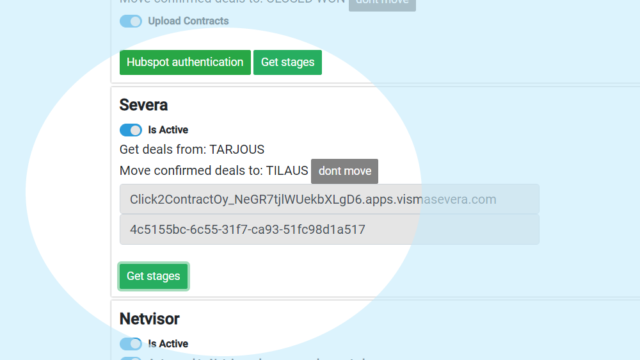
Finalize the integration in the Click2Contract Integrations page. Go to the Visma Severa section and copy the Client ID and Client Secret from Severa to their designated fields. Make sure that you’ve set the integration status to “Is active”. The integration is now complete.
Setting automations
Press Get Stages to see the stages in Severa’s Sales overview. You can now select whether the deal is automatically transferred when the proposal is sent or accepted.
Put customer information in its place
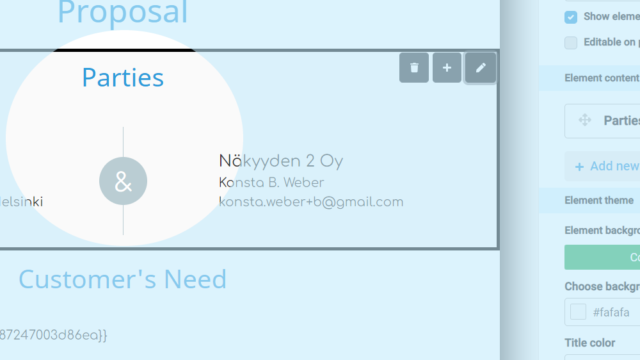
If the Parties element (see picture) is selected for the template, Severa will automatically import the customer’s company and contact information to the proposal or contract.
